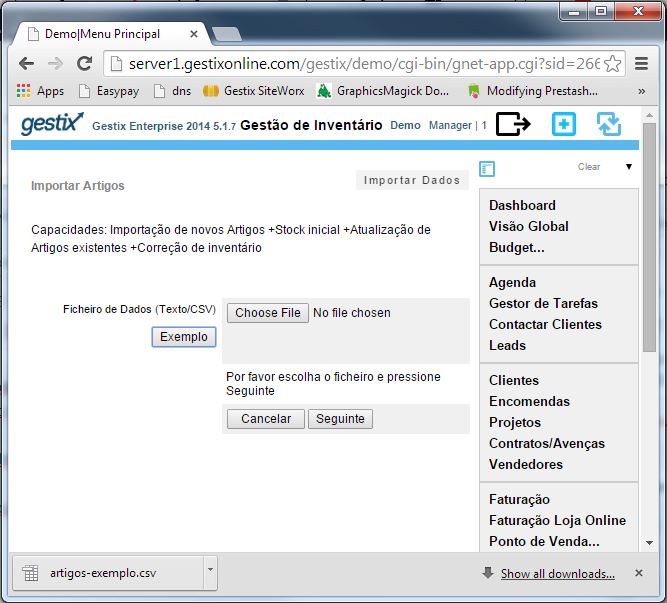
Como obter no Gestix o mapa de existências em formato compatível CSV
Numa aplicação Gestix munida de gestão de stocks (com menu Artigos), adquirida depois de Janeiro de 2015 ou atualizada por subscrição do plano anual de atualizações/cloud, é disponibilizado o mapa de inventário em formato CSV compatível com o site eFatura.
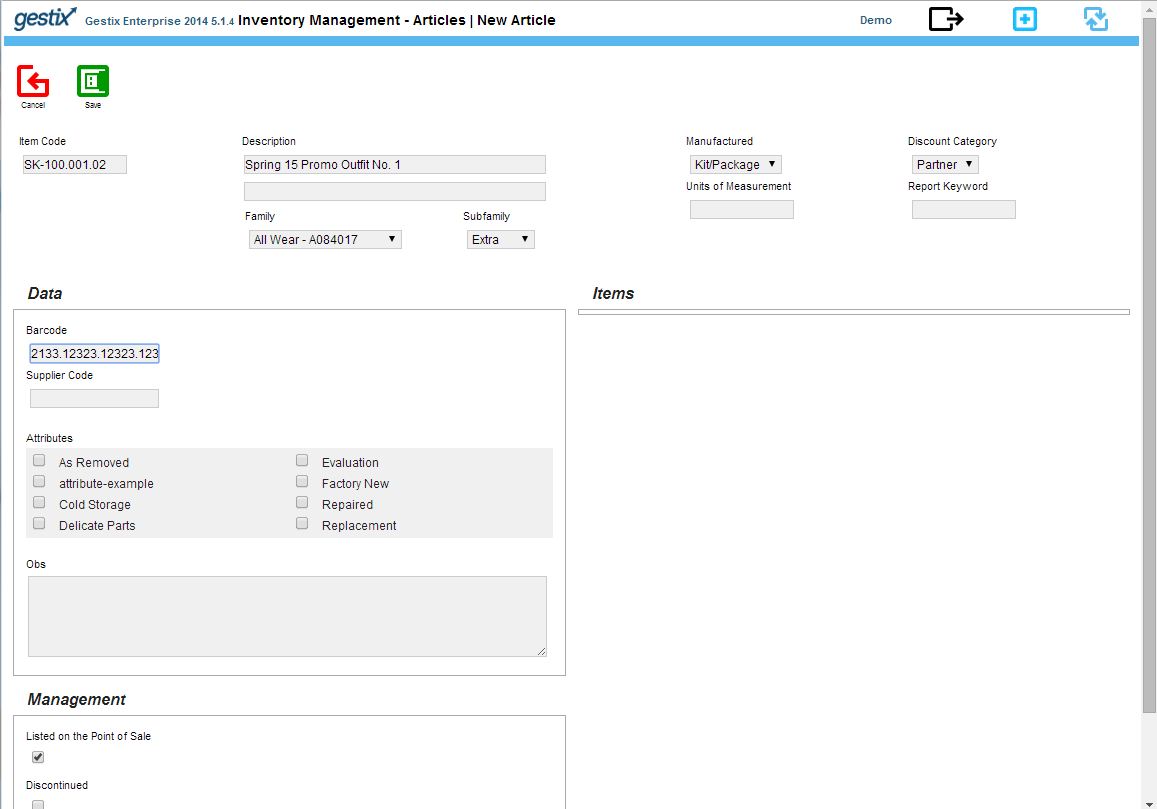
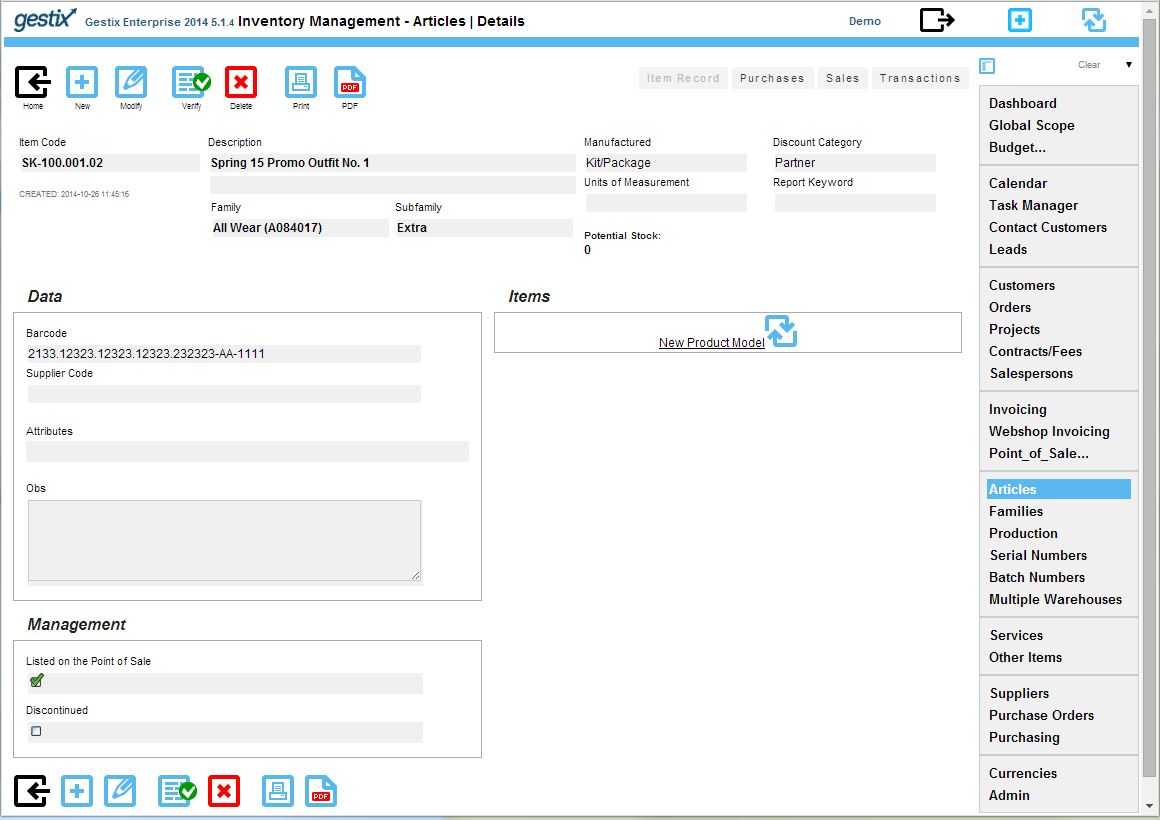
Em geral, em todas as edições Gestix que tenham Stocks, é possível tirar o inventário à data atual do sistema.
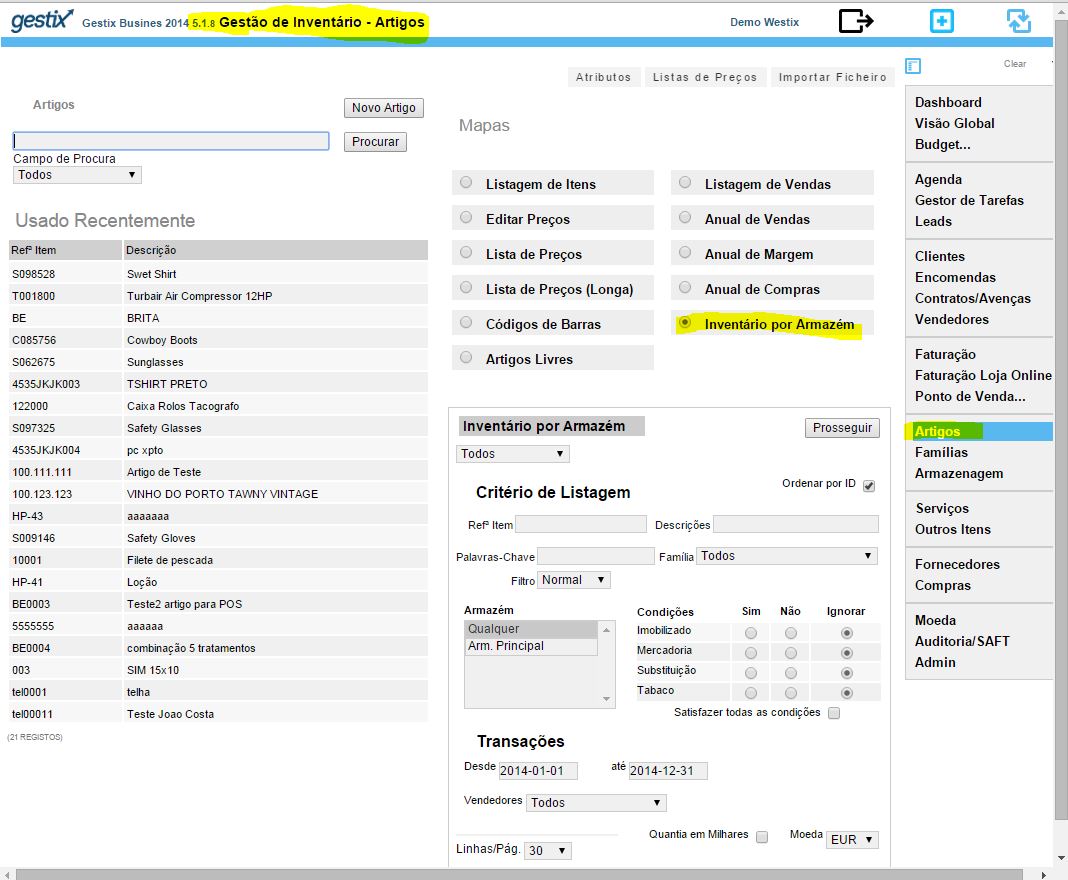
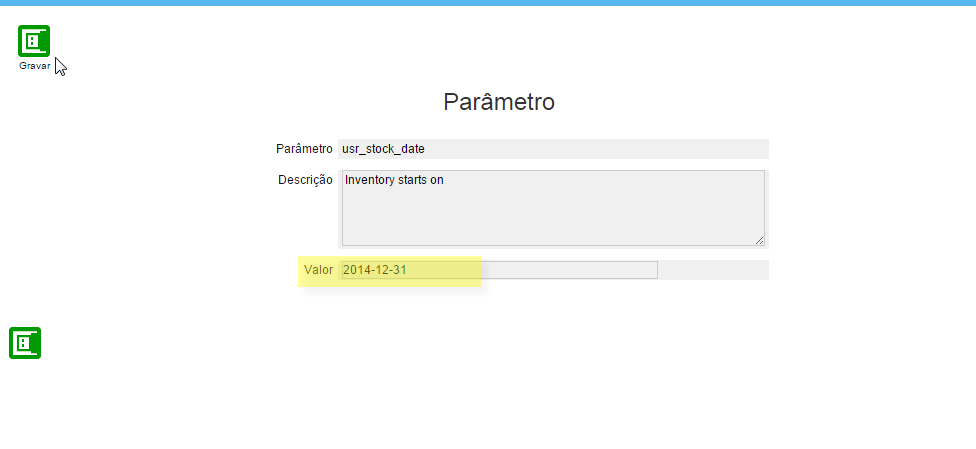
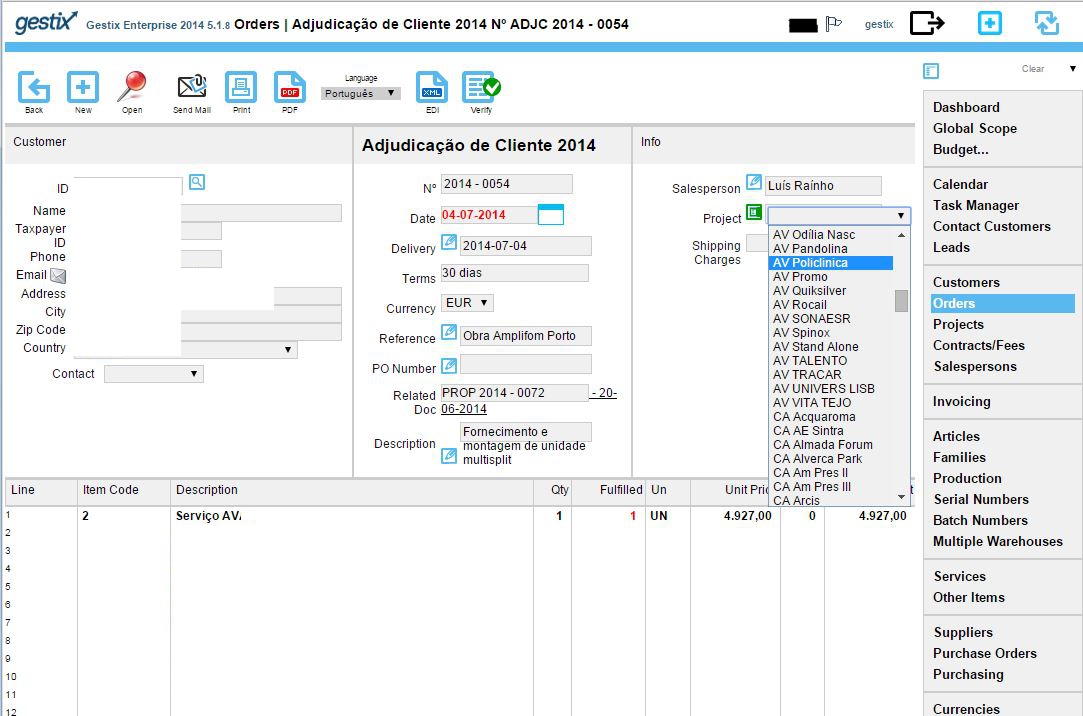
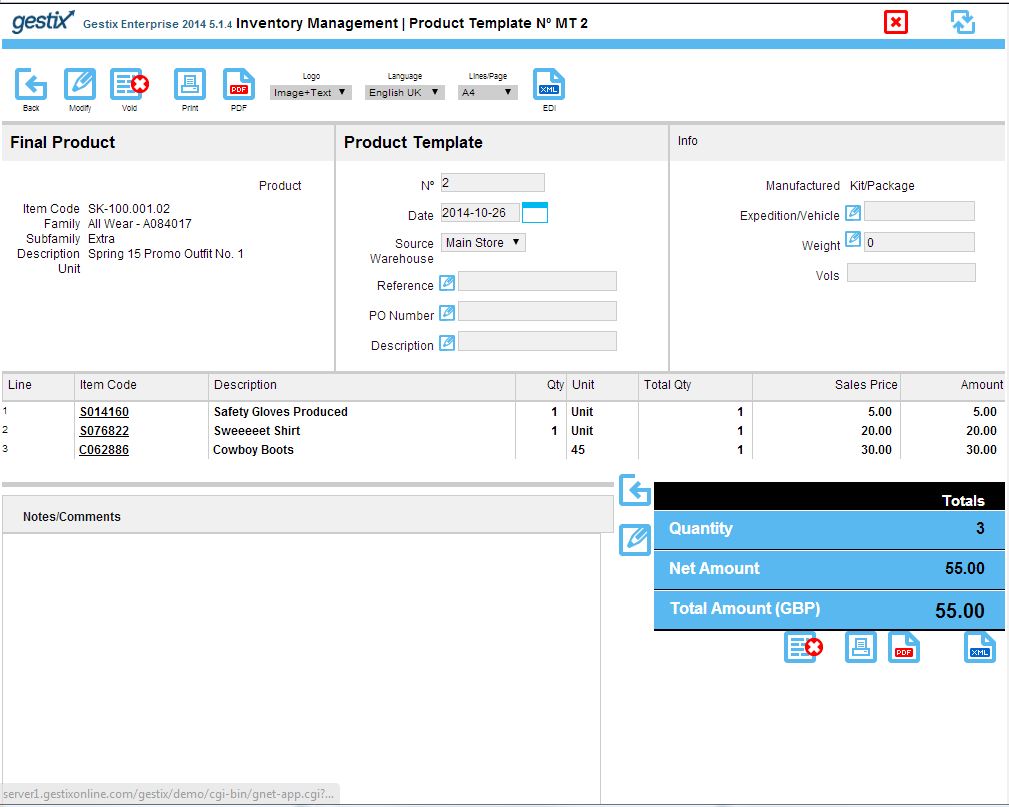
No Gestix Enterprise é possível definir a data em que se pretende o inventário calculado.

Para trabalhar e acertar os stocks recomenda-se a utilização de um dos novos Gestix Enterprise com capacidade para acertar stocks por folha de cálculo e gerar as entradas/saídas com os respetivos acertos.
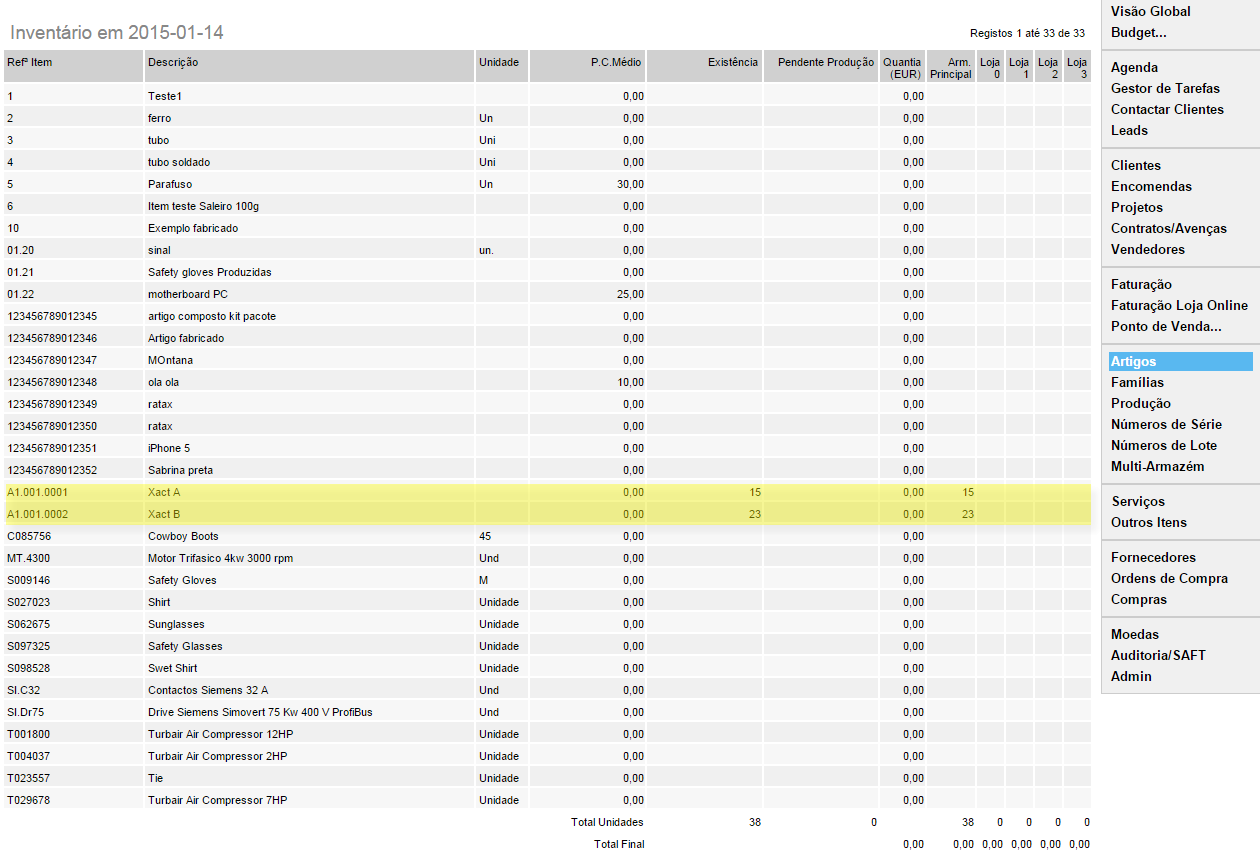
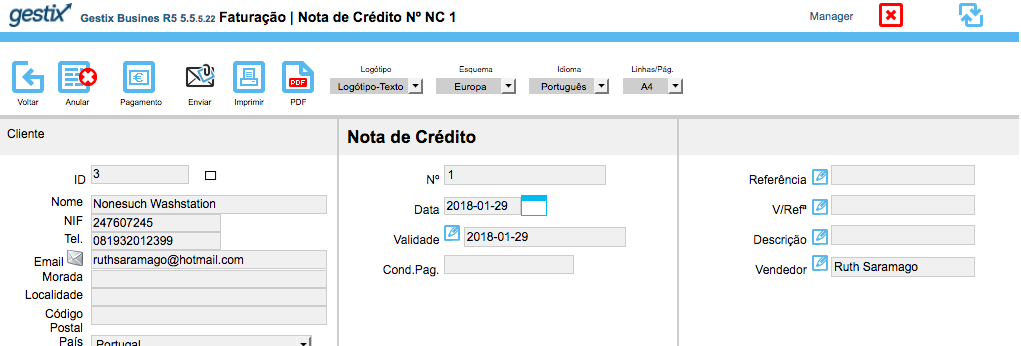
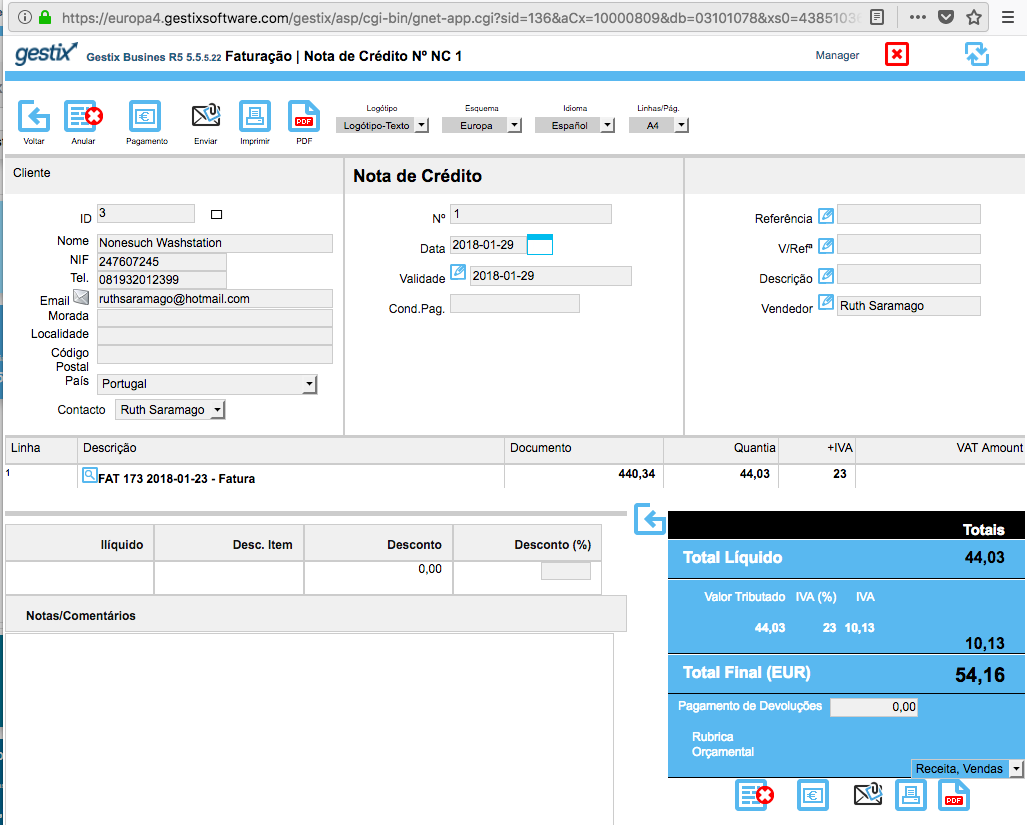
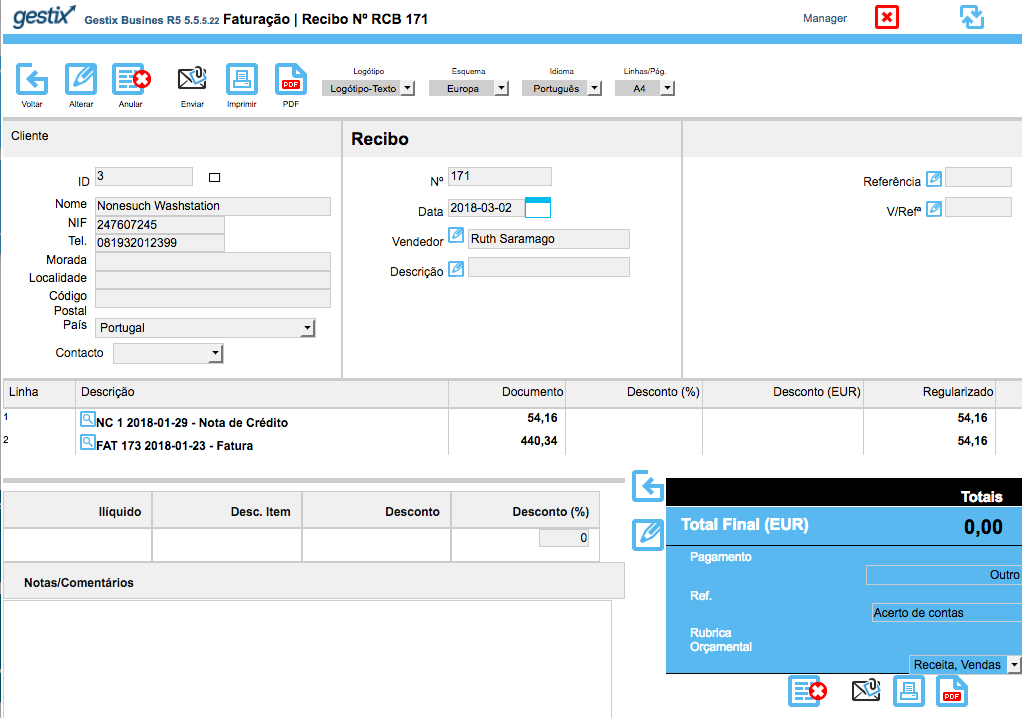
Uma vez acertadas as existências utilizar o mapa Inventário por Armazém ou Inventário por Data se disponível na sua aplicação.
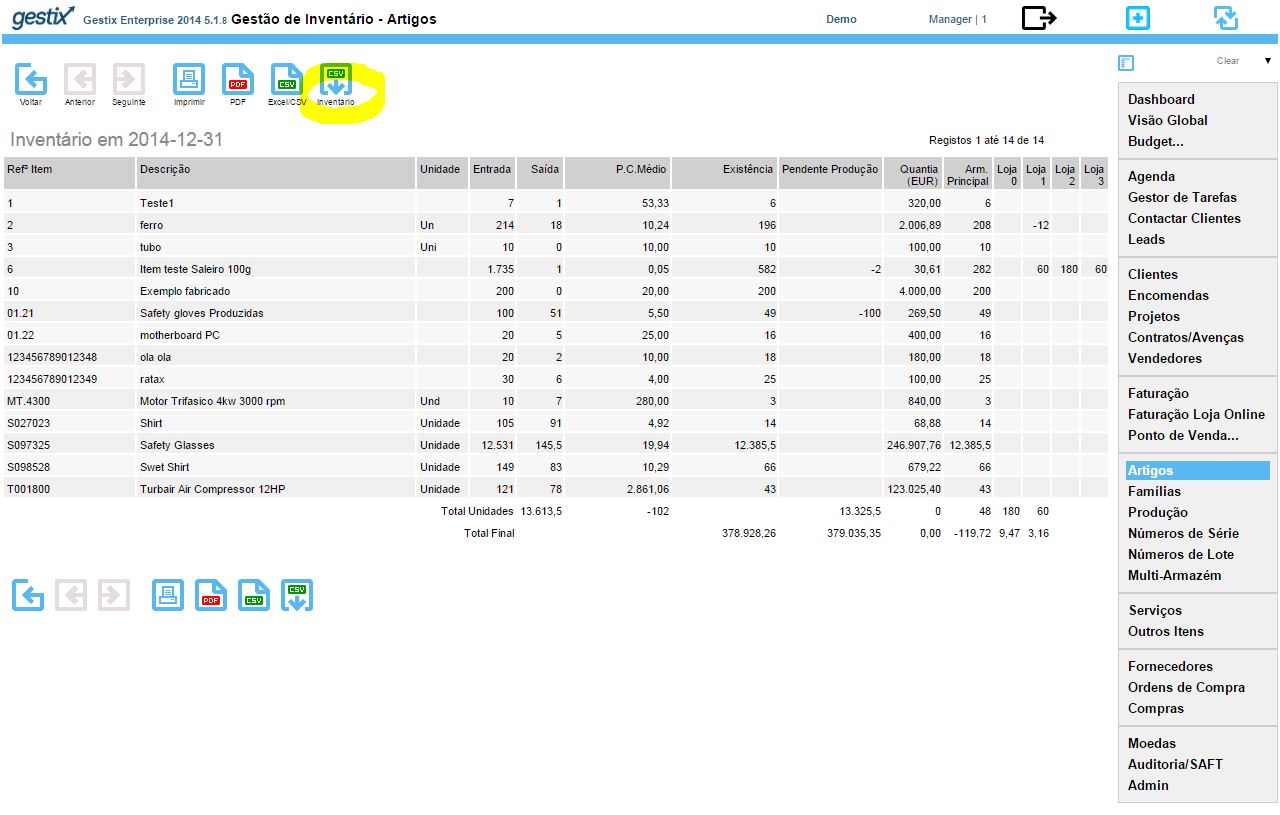
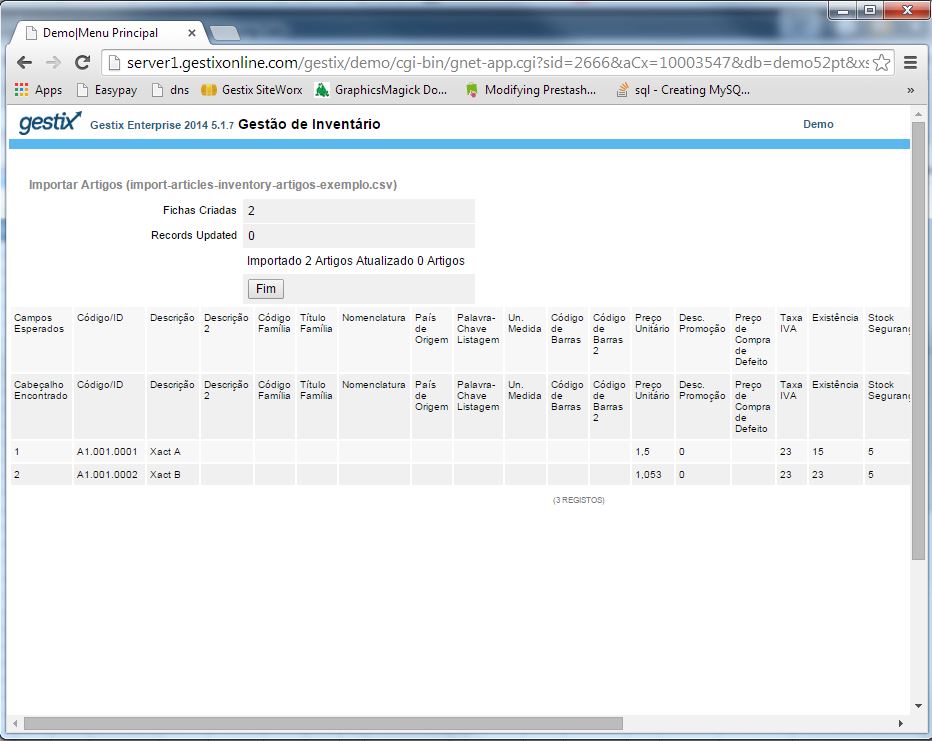
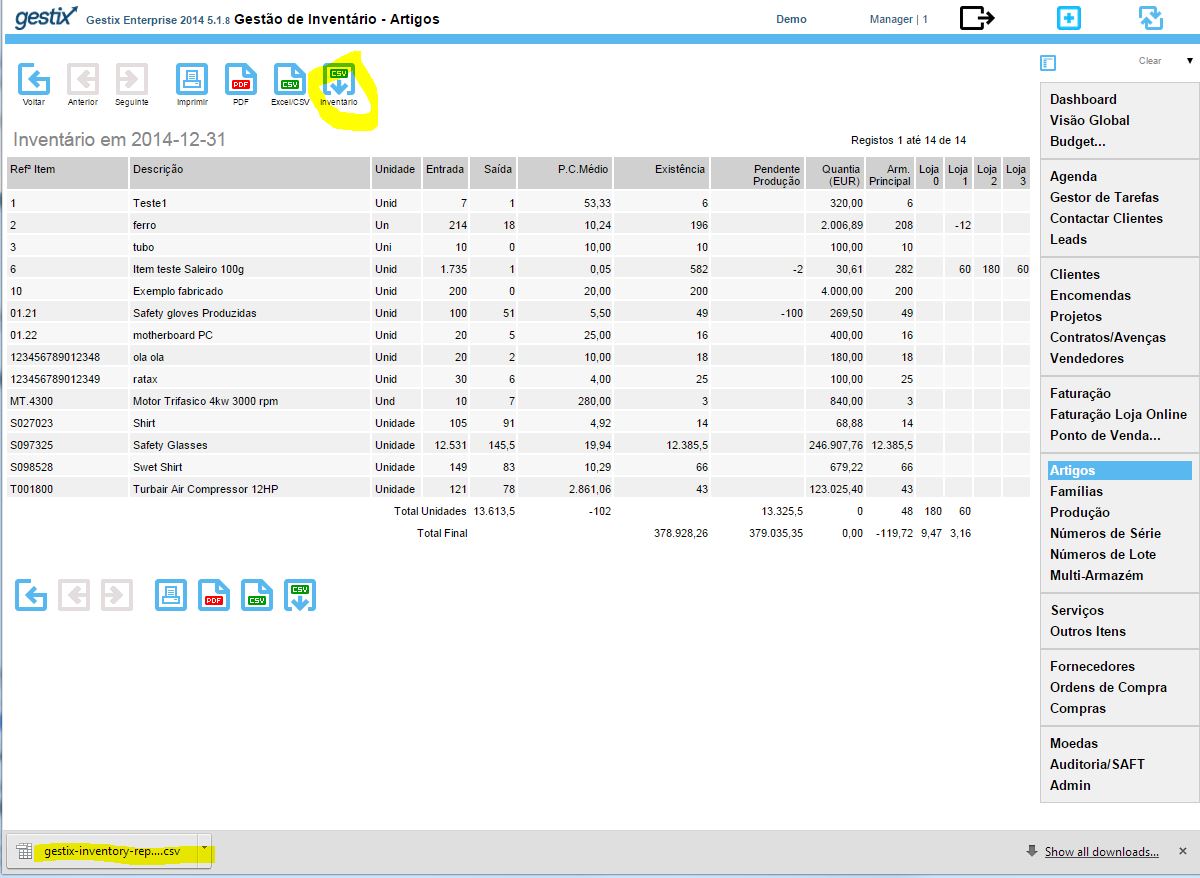
A o botão destacado Inventário produz a versão CSV dos valores mostrados.
Carregar o ficheiro CSV no eFatura
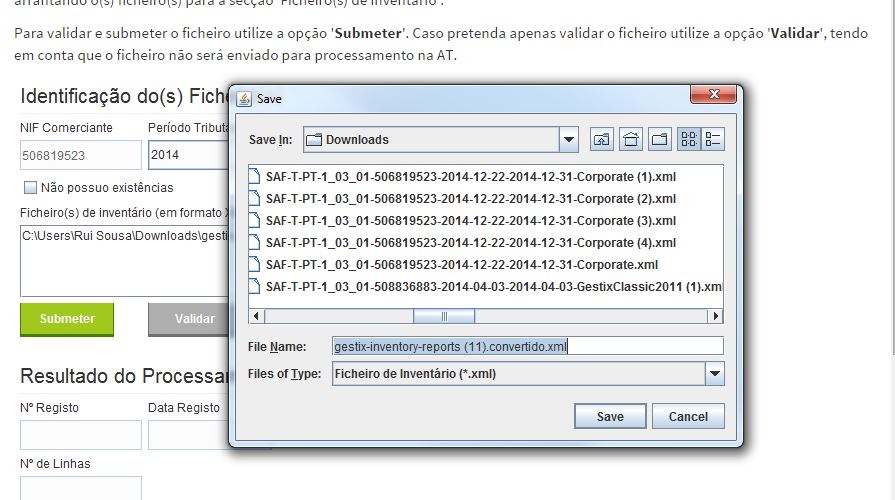
Permitir a conversão para XML deixando gravar a conversão num ficheiro local cujo nome não é importante.

Referências
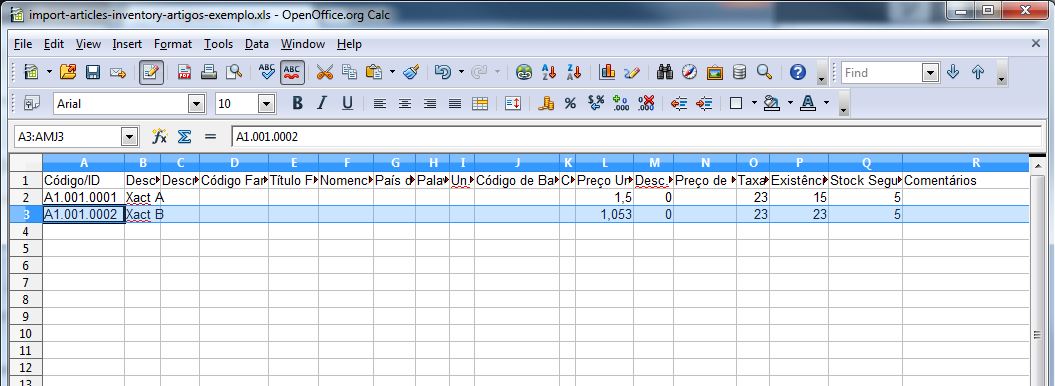
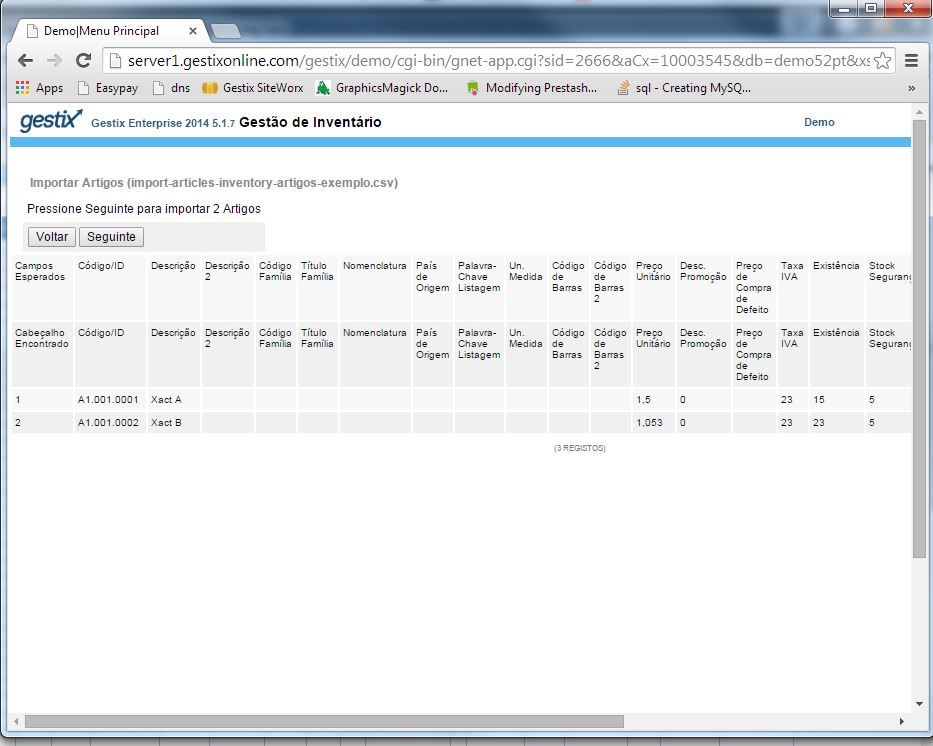
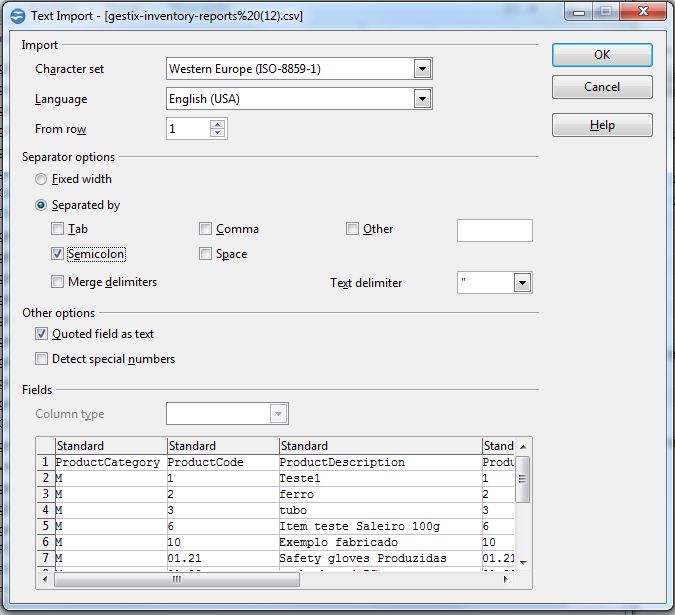
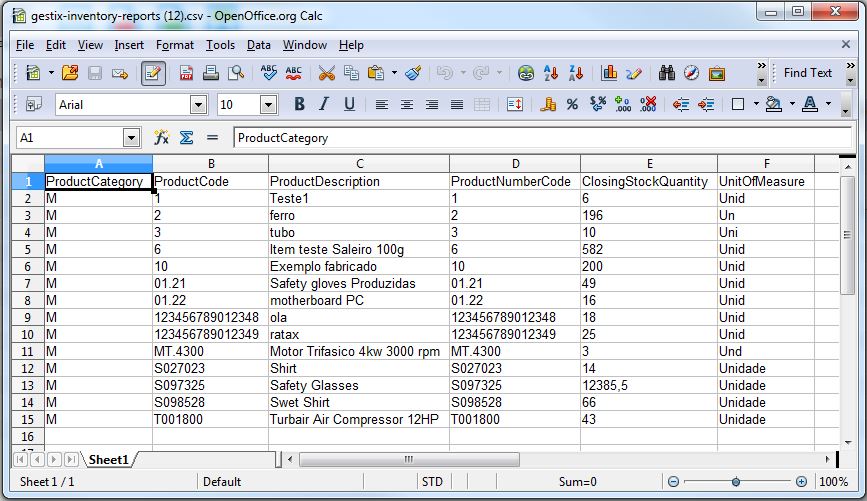
Detalhes do ficheiro CSV do exemplo
Referências
Comunicação de inventários de existências
| Já se encontra disponível o formato do ficheiro para comunicação de inventários de existências.Mais informação: Aqui |
Informação prestada ao Comerciante pela AT:
Enviar Ficheiro Inventário
Sr. Comerciante, deve utilizar esta funcionalidade para comunicar o seu inventário, submetendo um ou mais ficheiros.
Se pretender comunicar o Inventário enviando mais que um ficheiro, deverá proceder à submissão de todos os ficheiros em simultâneo.
O envio, em data posterior, de um novo ficheiro, anulará a declaração efectuada anteriormente.
Caso indique mais do que um ficheiro, ou no caso de estar a enviar ficheiro em formato CSV, todos os dados serão extraídos automaticamente para um ficheiro único. Apenas esse ficheiro único será enviado para a AT.
As empresas sem existências e obrigadas por a lei a comunicar o Inventário, deverão seleccionar a opção ‘Não possuo existências‘.
(…)
Caso pretenda apenas validar o ficheiro utilize a opção ‘Validar‘, tendo em conta que o ficheiro não será enviado para processamento na AT.
Ecrã onde o comerciante pode validar e submeter o(s) ficheiro(s) CSV quer extraídos em aplicação informática quer preenchidos manualmente.

Post recente sobre inventário http://gestixsoftware.com/2015/01/14/recomecar-inventario-em-2015-preparando-para-transmissao-electronica-o-de-2014/)