After installation, open Gestix.
http://localhost/gnet/cgi-bin/gnet-app.cgi
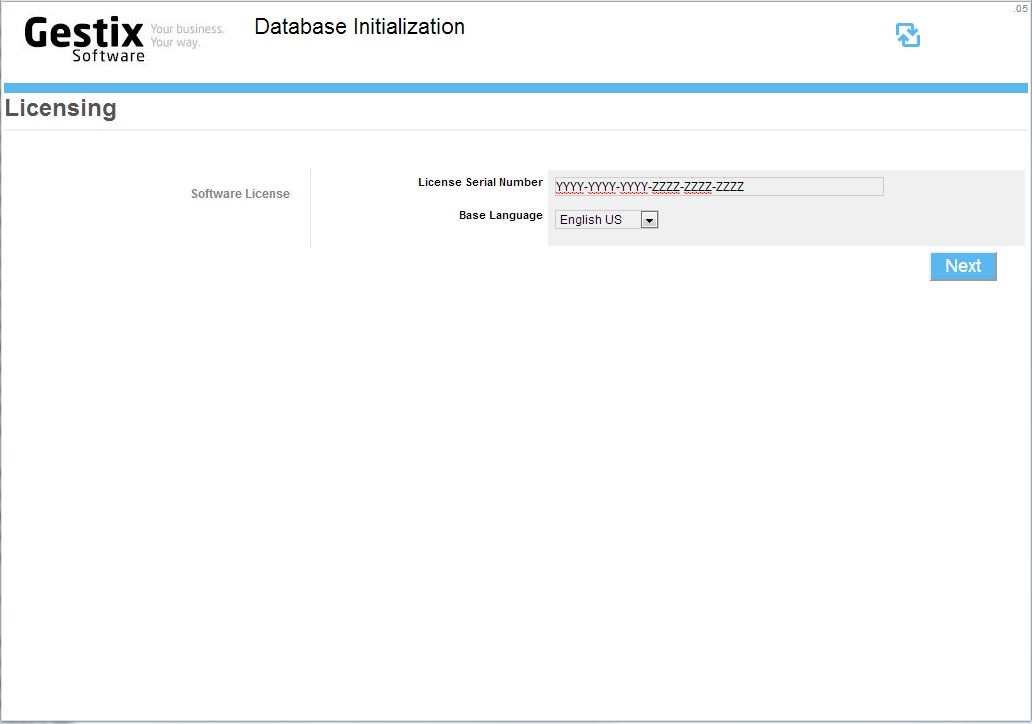
Provide the license serial number if applicable. Cloud licenses don’t usually show this step.
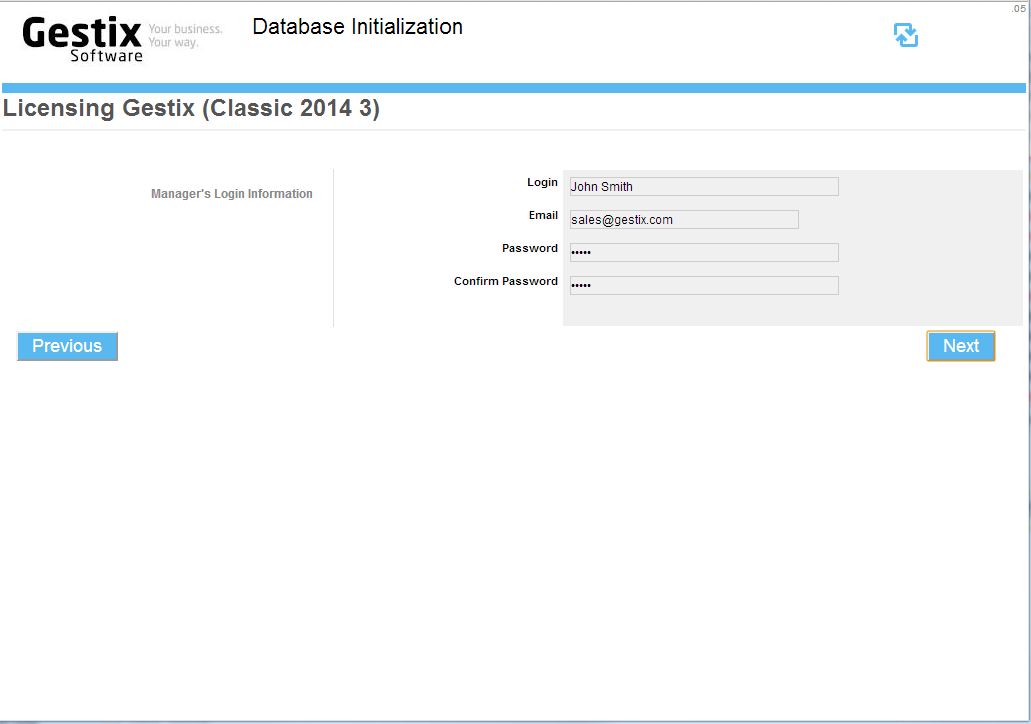
Fill the Manager’s log in details (your name, email, and new password).

Then fill in the next form with your company’s details.
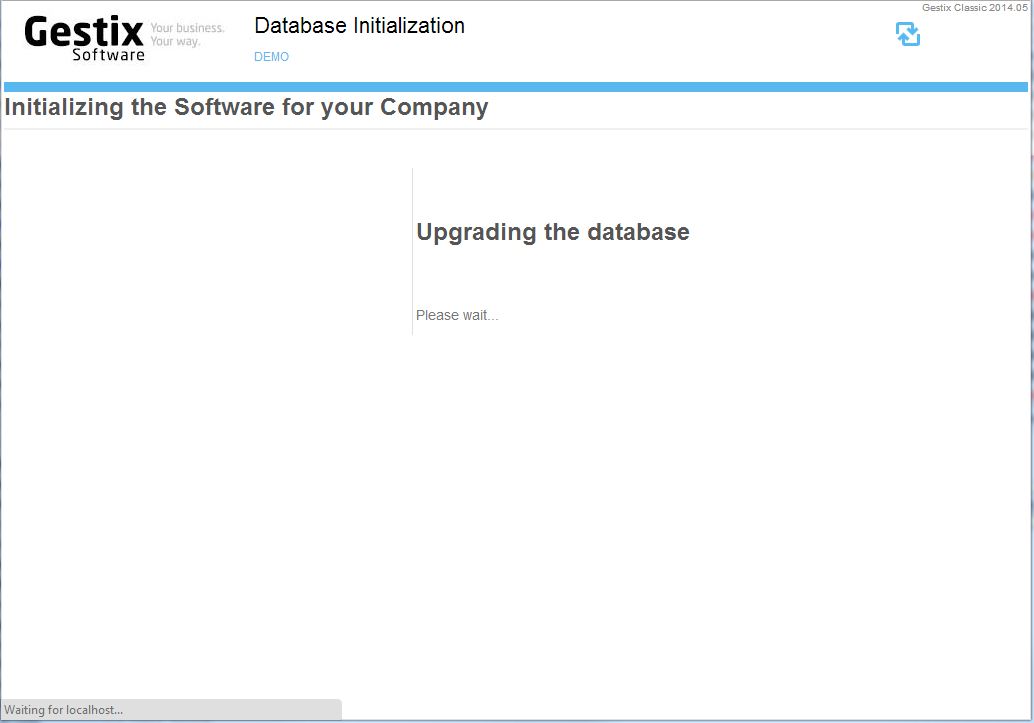
The database will then be updated with the license and company information.

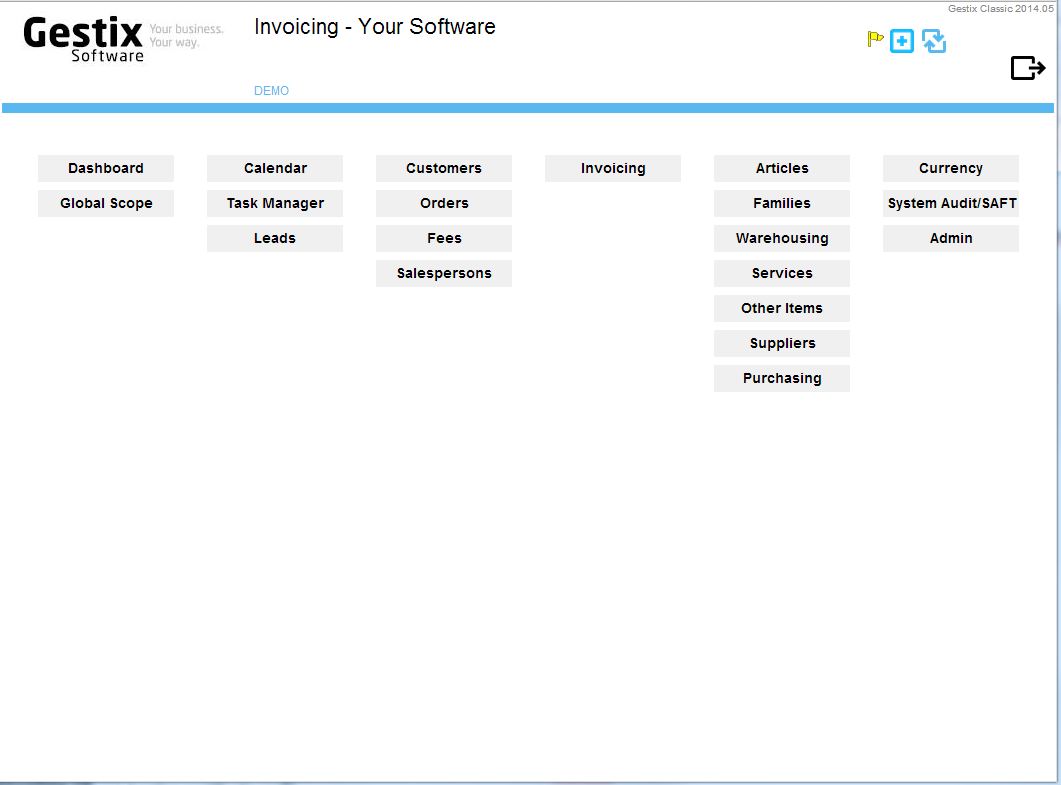
Log into Gestix using the user name and password previously indicated.
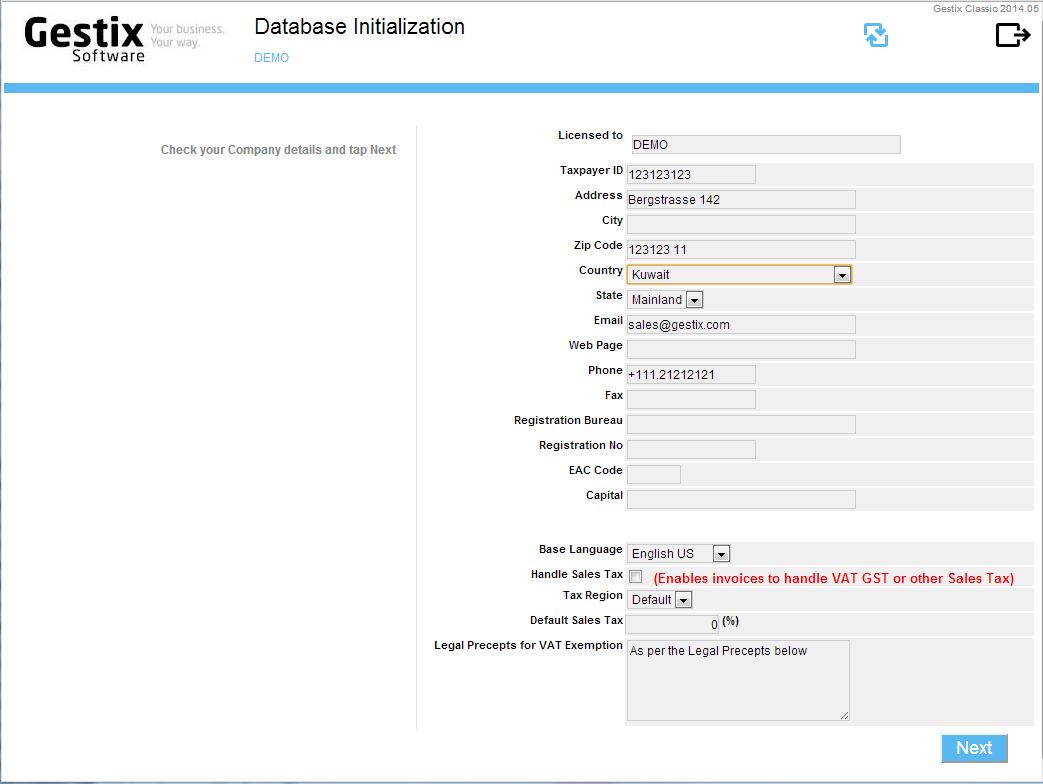
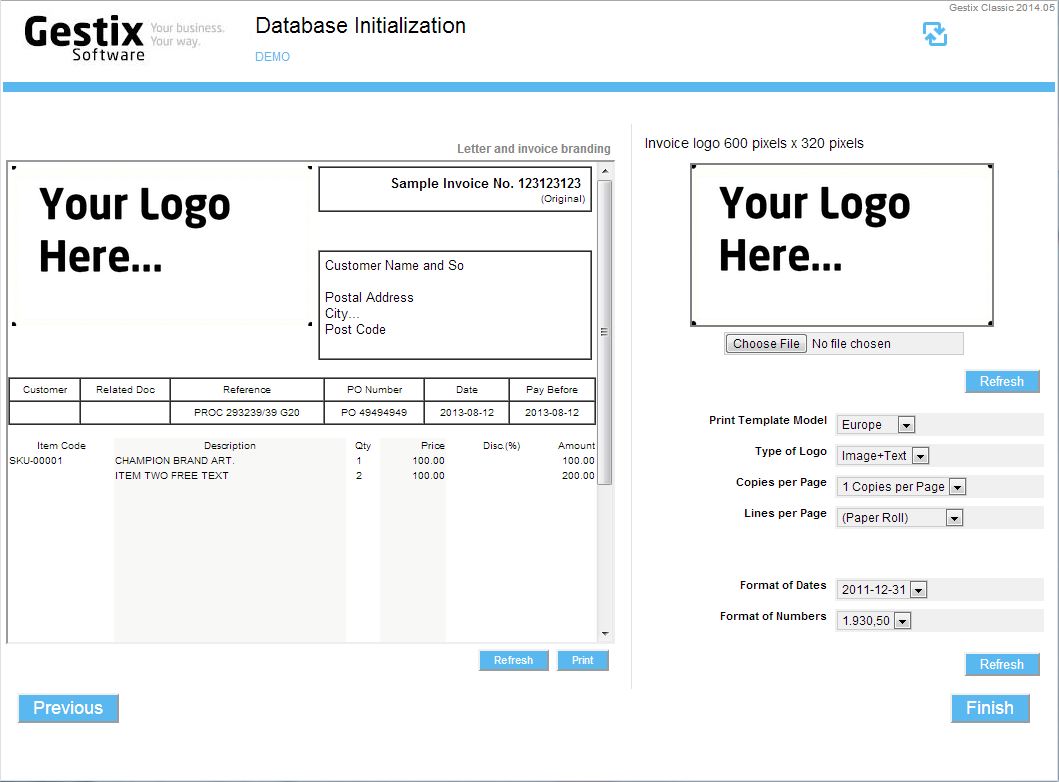
Since Kuwait does not handle VAT or IVA tax, leave the Handle Sales Tax field unchecked, then press the Next button to advance to the invoice branding step.
When finished, the main Gestix menu for your application will show (your license may differ from the figure below regarding the menus is deploys).