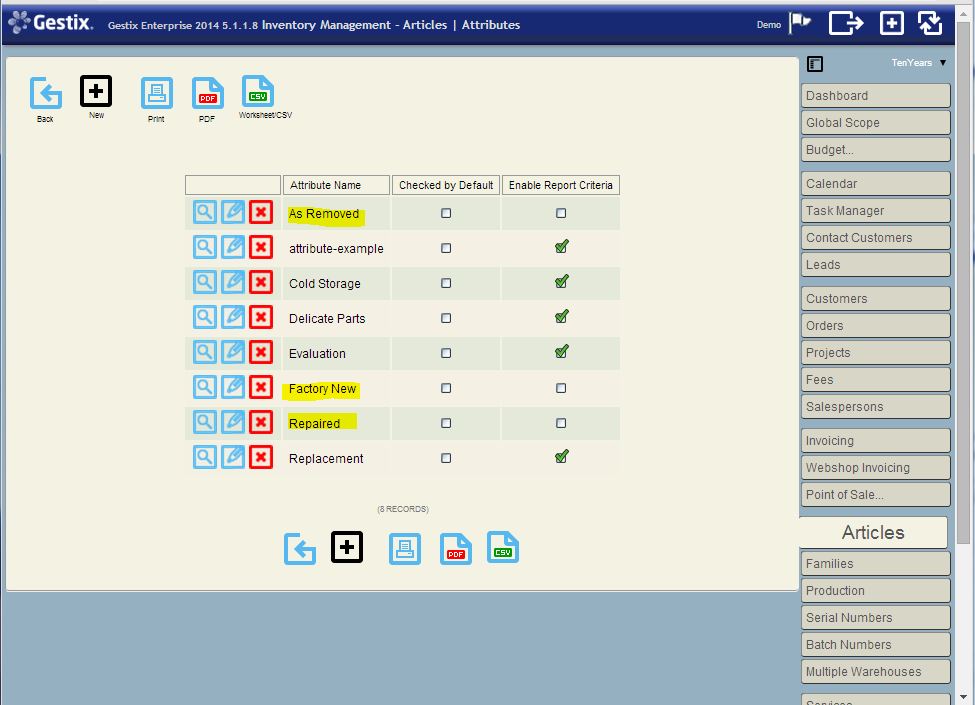
When maintaining a large base of articles during several years, it may be convenient to tell the system to ignore past moves relative to a user-specified date.
This procedure will modify the stock readings in article records and inventory reports without removing or modifying any records in the database.
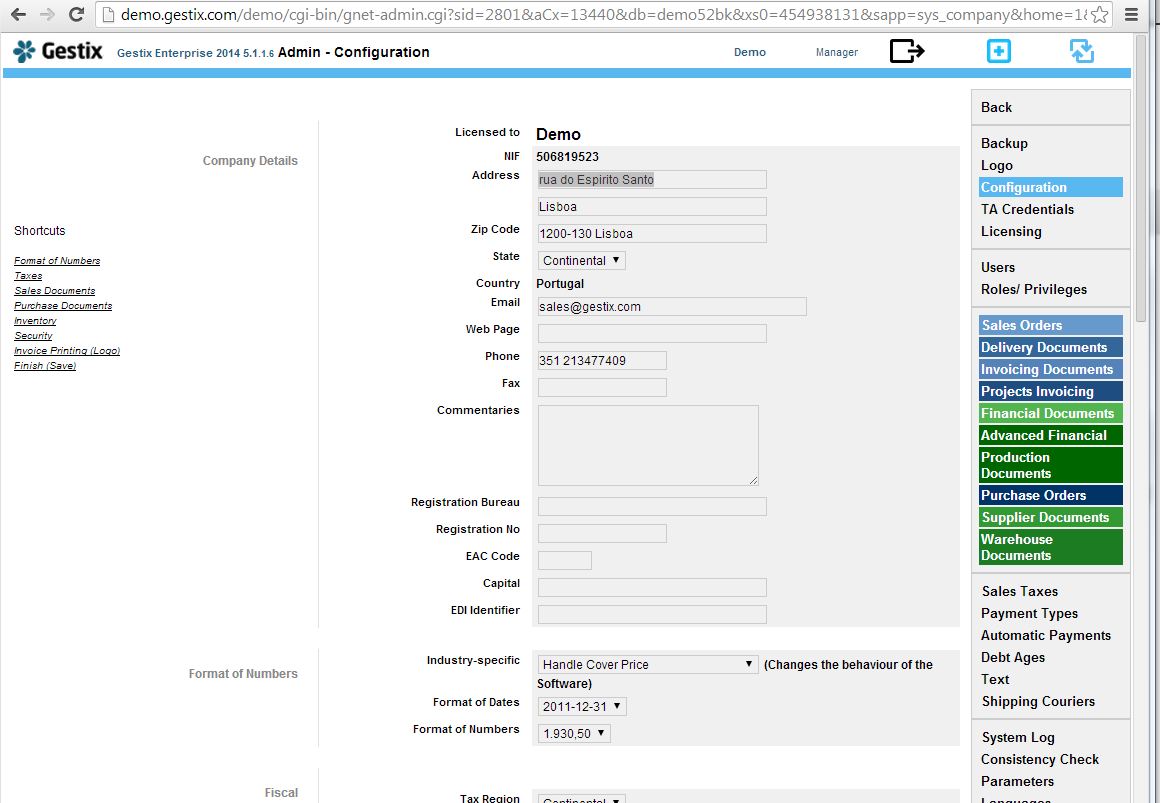
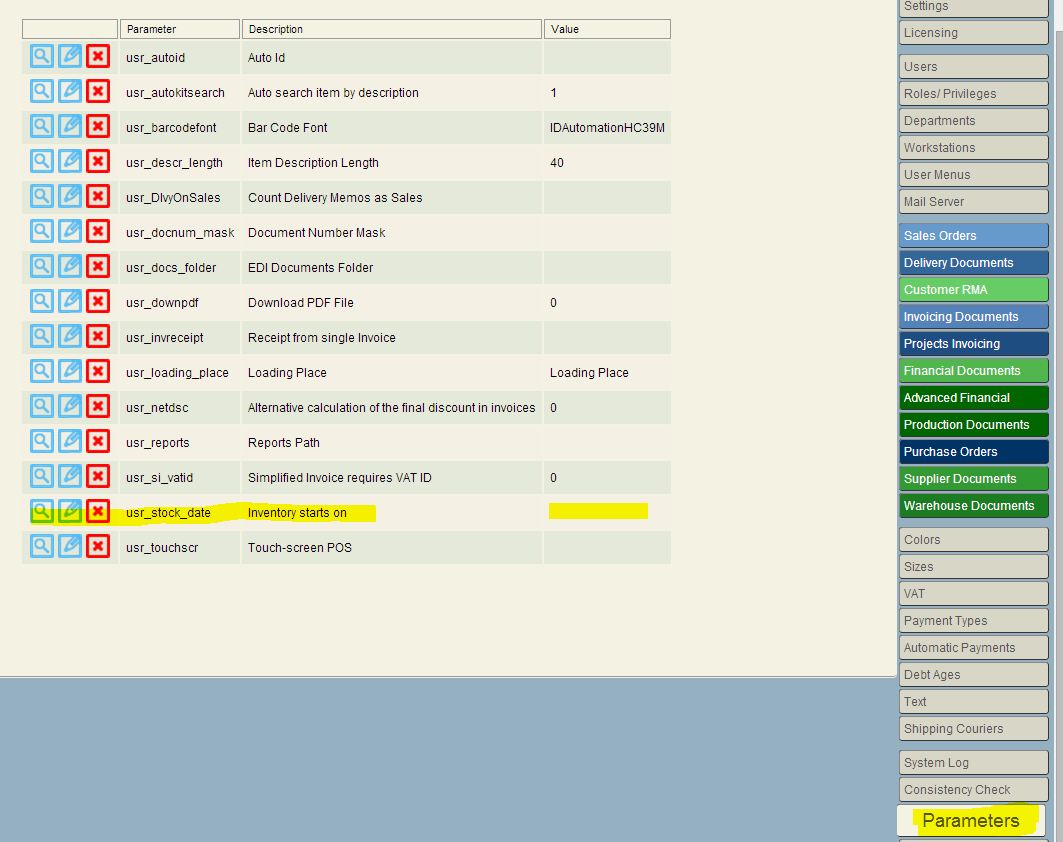
Open the Admin | Parameters menu and edit the usr_stock_date parameter.
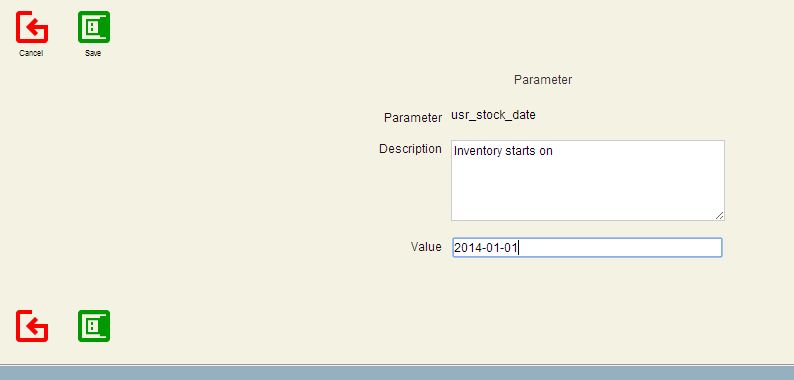
Specify the Inventory Beginning Date, in the form YYYY-MM-DD. This will be the date from which the transactions are to be taken into account for inventory purposes.
In this example, we have a database with about four years of stock transactions and want to make the system consider only transaction from 2014-04-01 onward.
Save the parameter and open the Consistency Check menu.
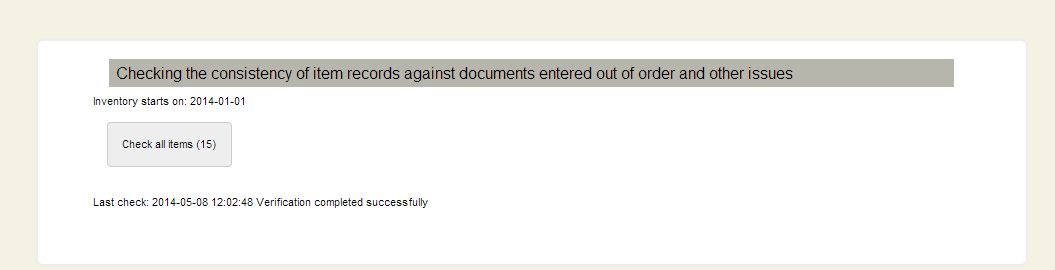
Press the “Check all items” button.
Press the Progress button to check the progress.

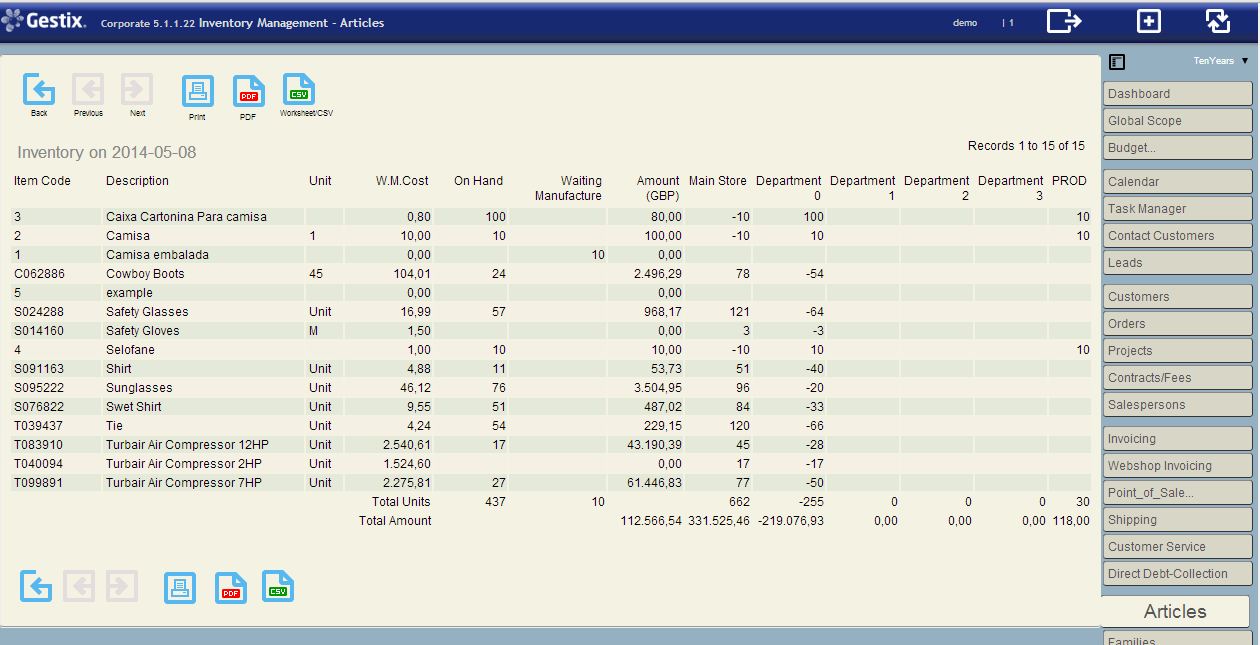
When finished, get the inventory report. It will show the expected results.
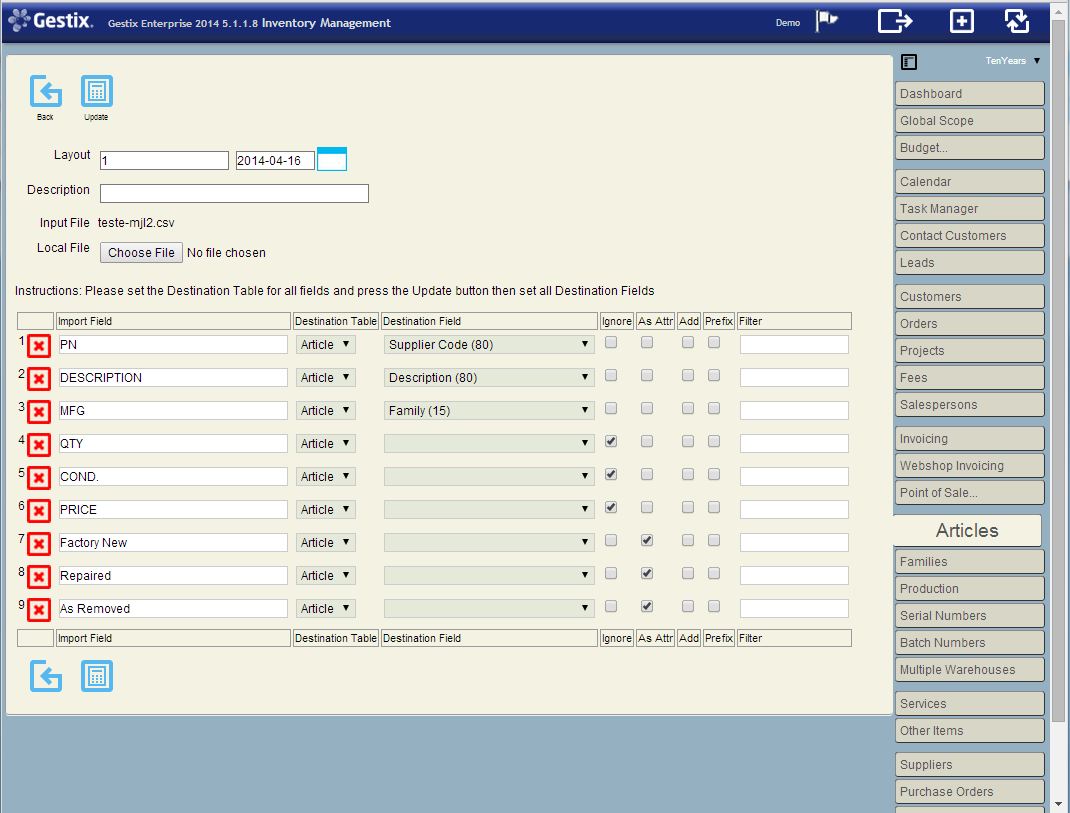
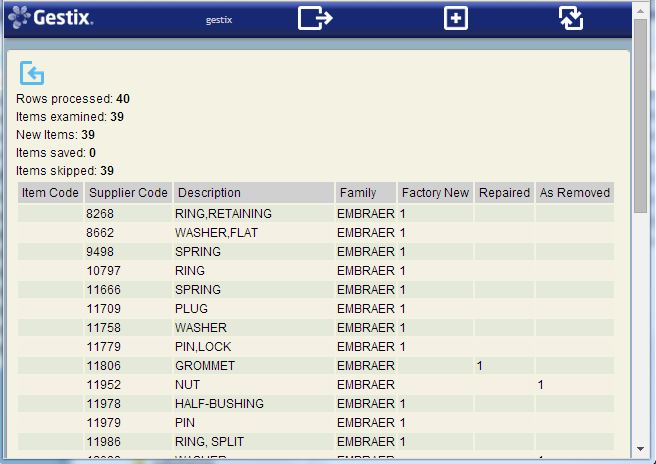
There are two ways to enter the counting into the system on the new Inventory Beginning Date. One is by entering warehouse receipts or purchases. Another one is to import an excel-csv file with inventory count for each article, using the Data Import menu of the Gestix Enterprise. In this case the default warehouse will be used to enter the stock counts.
Please contact our technical support for more information: http://www.gestix.com